Piano Guidance
Photo by Yan Krukau Pexels Logo Photo: Yan Krukau

Do keyboards come with keycap pullers?

Many keyboards and keycap sets include a plastic keycap puller. These work in a pinch, but are not recommended.

Is sonata Romantic period?

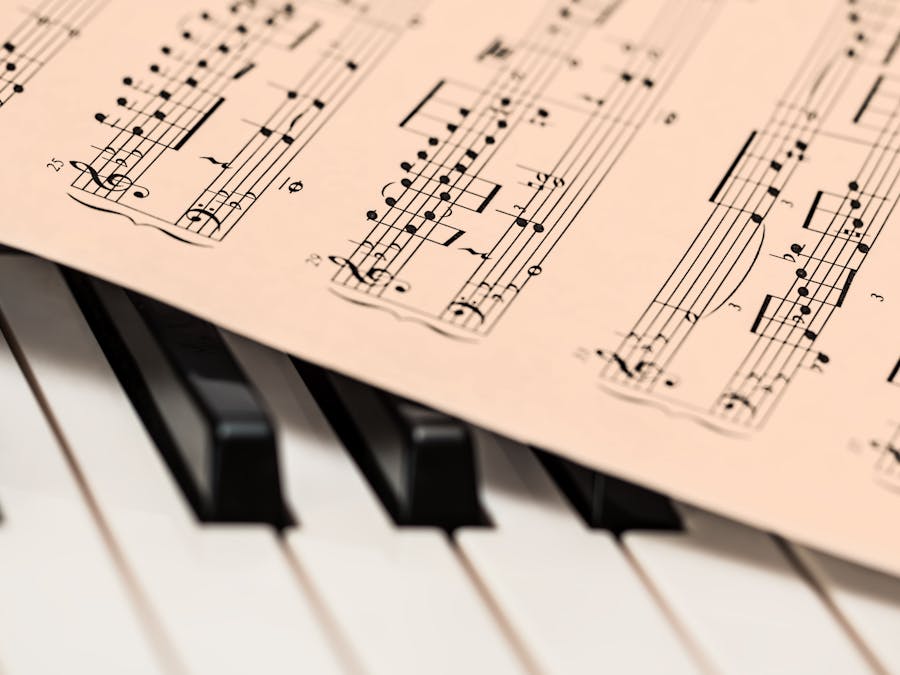
In the Romantic era, sonata form was first explicitly defined and became institutionalized.

Read More »
What is Batman's signature weapon?

the Batarang As one of the most recognizable weapons in comics and popular culture, the Batarang is Batman's signature weapon of choice, and honors...

Read More »

Many keyboards and keycap sets include a plastic keycap puller. These work in a pinch, but are not recommended. In this guide, we’re going to show you how to make a better wire keycap puller with paper clips and a twist tie. We tried to keep this guide as simple but effective as possible. You will only need the following 5 items to make a great DIY wire keycap puller.

A quick preview of the finished product

Let’s break down all of the steps required to make a keycap puller on the spot with minimal equipment.

Step 1: Get The Required Materials

2 x Paper Clips (size #1)

1 x Twist Tie (plastic preferred)

1 x Needle Nose Pliers

1 x Ruler

Tips before we start:

Go for #1 size paper clips because they happen to be the same width as common wire keycap pullers. They should be just under 1mm thick. size paper clips because they happen to be the same width as common wire keycap pullers. They should be just under 1mm thick. Plastic-coated twist ties are preferred for the added strength and comfort. Paper ones are commonly free at your local grocery store, next to the rolls of plastic produce bags. It’s always a good idea to keep some of these around when you get new electronics or visit the supermarket. Ruler and needle-nose pliers are not necessarily required but will make your life a lot easier. Apply some tape to the ends if you don’t want to mar up the paper clips.

Step 2: Straighten your Paper Clips

You will need to straighten out your paper clips. The #1 paper clips we’ve chosen are roughly 3.75 inches (~9.5 cm) long when straightened out. You can use either your fingers or the pliers to straighten them out section by section. The last bend may require the pliers. Use your pliers to straighten out any kinks. Try to make sure your paper clips are straight by checking against a flat surface or straight-edge.

Step 3: Bend the Arms

A wire keycap puller is about 3/4″ wide (~1.9 cm) or roughly the width of a finger. Make sure your bends are accurate and centered on the wire so that you end up with two arms of equal length. When bent, each arm should be about 1.5 inches (~3.8 cm) long. If your finger fits between the arms, you have probably succeeded. You don’t want it to be too wide or else it won’t fit between the keys.

Step 4: Bend the Pegs

For these last bends, just make sure you don’t use more than the tip of the pliers. The pegs only need to be long enough for the twist tie to secure them. Try to preserve as much length in the arms as possible. Each peg should ideally be no longer than 0.5 centimeters.

Step 5: Do the Twist

What to do if some keys are not working?

An outdated or corrupt driver could be the reason your keyboard isn't working. Step 1: Right-click on Start and select Device Manager. Step 2:...

Read More »
Is Yousician just for beginners?

The Yousician app is great for beginners, and as you can see in the video, even more advanced players can enjoy it, however it does have its...

Read More »

Grab your twist tie and center it under your clip pegs. Fold over each section across the arms so you have equal lengths on either side. Twist them up and around the pegs we bent from Step 4. This acts both as a retainer and a handle for pulling. This is the last step and you now have a completed DIY wire keycap puller! If you made the legs long enough, you should be able to pull two keycaps before needing to unload. Not as many as a traditional wire puller, but certainly more efficient and effective than a plastic one. The easiest method is to make sure the clips are opened a bit. Lower it around the sides of the keycap. When you have slipped under the keycap, twist or turn the puller slightly so that each edge is now under an opposing corner of the keycap. Now pull gently and slowly pull straight up. The keycap should come up easily. Repeat for another keycap. Once you get used to the force required, you can move faster. Again, you should be able to pull 2 caps before you need to unload them. If your switch comes out too, it means the sockets may be loose or the plate may not be tight enough.

Avoid Jumbo Paper Clips

The wire on a large or jumbo sized paper clip may be thicker, which means in order to squeeze under your cap, you may have to press down the two keys immediately to its left and right to fit between the spaces. If you can find a longer paper clip with a wire of the same width as a #1, or if you don’t mind having a thicker wire, then by all means use it.

Avoid Plastic Keycap Pullers

Most of the time if you purchase a hot-swap board or keycap set, they provide you with a plastic “ring” style puller. At first glance they seem fine. In reality they may be a nightmare for you. The smaller issue is that they make the process take longer than it needs to be. You have to be careful sliding the plastic legs around your keycaps, wait for the prongs to click, then pull straight up. You will have to go one at a time and pop the keycap out after every pull. You have to be perfectly centered on your shorter keycaps for this to work well. For longer keys that are stabilized, it is best to start on one side, then slide the puller over the other side and repeat. You can imagine this is annoying on a spacebar. This leads to me to the bigger issue: keycap damage. Depending on your keycaps, they may have either come with your keyboard or have been purchased separately.

When should you not use hydrogen peroxide?

When not to use hydrogen peroxide Don't use hydrogen peroxide on wounds. It's time to retire peroxide from first-aid duty. ... Don't put hydrogen...

Read More »
Are my hands good for piano?

The average hand length for men is 7.44 inches or 189 mm, while for women, it is 6.77 inches or 172 mm. On the other hand, the average male hand's...

Read More »

They could be anywhere from $20 keycaps to $200 keycaps. The last thing you want to be doing is sliding a rough plastic keycap along the surfaces and in the case of improper use, risk damaging the switch and PCB underneath.

Plastic keycap pullers honestly serve better as keychain accessories.

Other Options for Keycap Removers

Some other common items you can use to remove keycaps are floss, guitar strings, steel wire, armature wire, and pipe cleaners. If you get crafty, you can secure them with glue or epoxy to a handle, like a drilled wooden dowel or hollow plastic/metallic tubing. If you have a low profile case with floating keycaps, you might be able to pull them off with your bare fingers, but it will probably be quite difficult and somewhat painful. Don’t rip keycaps off as they can damage the switch underneath; Gently pull them off in a vertical motion. This method is not recommended, but we can’t keep you from trying!

Consider Purchasing a Wire Keycap Puller

“Real” wired keycap pullers are generally inexpensive, usually a few dollars each for a generic one with plastic handle that will allow you to pull multiple caps before unloading and speed up your workflow. Often times they are even included with aftermarket and third-party keycap sets. If you plan on removing more than a few keys, it really is recommended to get yourself a wire puller, such as this one.

Conclusion

Chances are if you read this guide, you are planning on removing more than a few keycaps. You may have spent all of your money on a nice set as well as some other essentials to customize your board. The last thing you need is a plastic puller ruining your caps, another expense, or more time waiting for something to be delivered. Hopefully with this guide, you are able to make a DIY key puller that might not be the most ideal long-term solution, but will make your life a lot easier for now. It’s a great solution especially if you don’t see yourself changing keycaps more than once. If you plan on it being more of a regular thing, we definitely recommend purchasing a proper wire puller.

Is it too late to learn how do you play the piano?

Learning to play the piano as an adult can be intimidating. Many people limit themselves because they think they are too old or that it's too late...

Read More »
What is the #1 hardest instrument to play?

The 11 Hardest Musical Instruments to Learn Violin. The violin is a wooden stringed instrument that's part of a larger family of similar...

Read More »
Join almost HALF A MILLION Happy Students Worldwide

Pianoforall is one of the most popular online piano courses online and has helped over 450,000 students around the world achieve their dream of playing beautiful piano for over a decade.

Learn More »
What is the biggest art theft in history?

The Most Famous Art Heist. In 81 minutes, 13 masterpieces were stolen in 1990 from the Isabella Stewart Gardner Museum in Boston. The Federal...

Read More »
What chords to learn as a beginner?

The 7 essential most used beginner chords ALL guitar players should learn first are E major, E minor, A major, A minor, D major, C major and G...

Read More »