 Piano Guidance
Piano Guidance
Piano Guidance
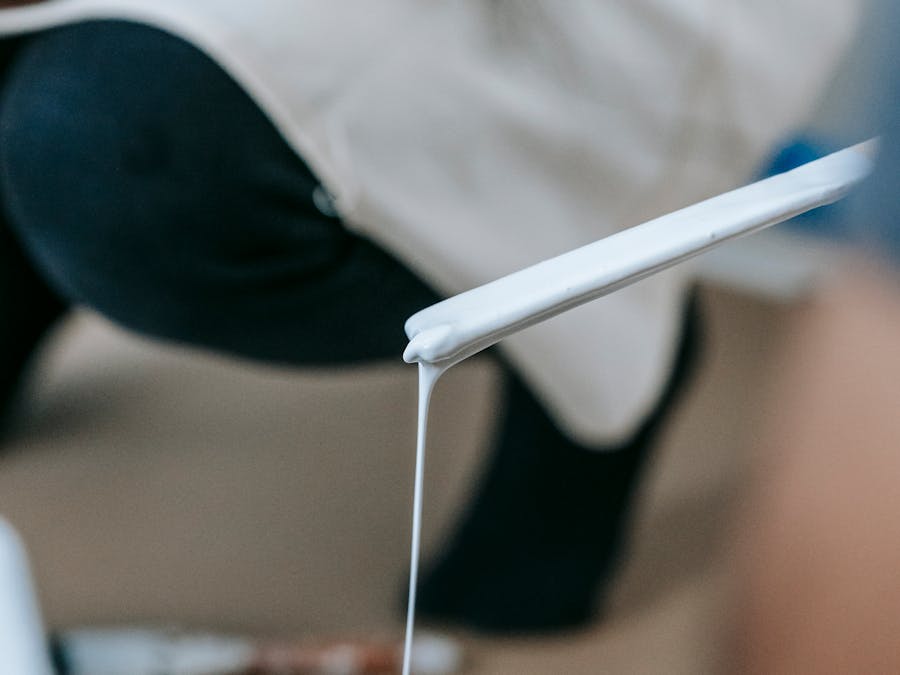
 Photo: Blue Bird
Once we've assumed that refretting is the way to go, you'll need to know a few things in advance: It's a delicate process. You might not get it perfect the first time, but practice makes perfect. You will have to purchase some specialized gear and gear up with a lot of patience, working space and some time.

Grand and Baby Grand Steinway Model S – 540 pounds. Young Chang Y185 – 671 pounds. Yamaha C3 Studio – 705 pounds. Steinway & Sons Model B – 760...
Read More »
TQT and GLH Grade TQT 3 50 hours 4 58 hours 5 90 hours 6 130 hours 4 more rows • May 25, 2020
Read More »Refretting a guitar is one of those things that sounds quite daunting at first. Like when you take your first steps fixing your bike, your car, or formatting your PC. Similar to these moments, it’s just daunting at first but learning how to refret a guitar can become a handy tool to add to your skillset if you intend to be a casual guitarist or are interested in knowing your instrument a bit better. In some way, refretting your guitar makes it less of a stranger to you and allows you to have a more in-depth knowledge of how these axes are built and assembled when you go to buy your next one.

Guitars with Floyd Rose bridges are hard to tune because of a thing called “tuning compensation”. Tuning compensation is the effect a single string...
Read More »
The seven names are (I) tonic, (II) supertonic, (III) mediant, (IV) subdominant, (V) dominant, (VI) submediant, and (VII) leading tone. The...
Read More »
Felt hammers are pounded flat after thousands of collisions with the piano's strings, and metal parts corrode and weaken. Years of friction wear...
Read More »
A new study on the Mona Lisa has revealed evidence of a charcoal underdrawing, suggesting for the first time that Leonardo da Vinci used a...
Read More »With all the preparations done, all that remains is to start inserting the frets. Put one or two small drops of cyanoacrylate on the tooth. With soft blows of the hammer, it is introduced first, at one of the ends. When it is ready, you cock it with not too strong blows until the fret is perfectly seated. If any of them is badly seated or short at one end, it should be removed and replaced. Never try to cock it from the sides. It is possible that when you remove it, the fret will be deformed, in which case you will have to cut a new one. Any glue stains on the fingerboard should be removed immediately with a damp cloth. Keep one handy at all times.

7 Tips To Choose the Perfect Computer Keyboard For You Work type. Varieties of computer keyboards are available in the market today, each designed...
Read More »
10 Best Sites for Free Music Downloads Bandcamp. Bandcamp may have plenty of digital and physical media for sale, including vinyl, CDs, and...
Read More »
“Learning piano has no age limit. In fact, activities like learning piano can stimulate the brain, increasing the ability to recall information....
Read More »
La Mer (1905) La Mer is Debussy's most popular and widely performed concert work.
Read More » Promotion
 Promotion
 Promotion
 Promotion